The moment an animal expires, the clock begins ticking. Internal heat and bacteria are the greatest enemies of meat quality. Field dressing—the process of removing the animal's internal organs—must be done promptly to open the chest cavity, allow trapped body heat to escape, and prevent stomach gases from souring the meat.
Tools of the Trade
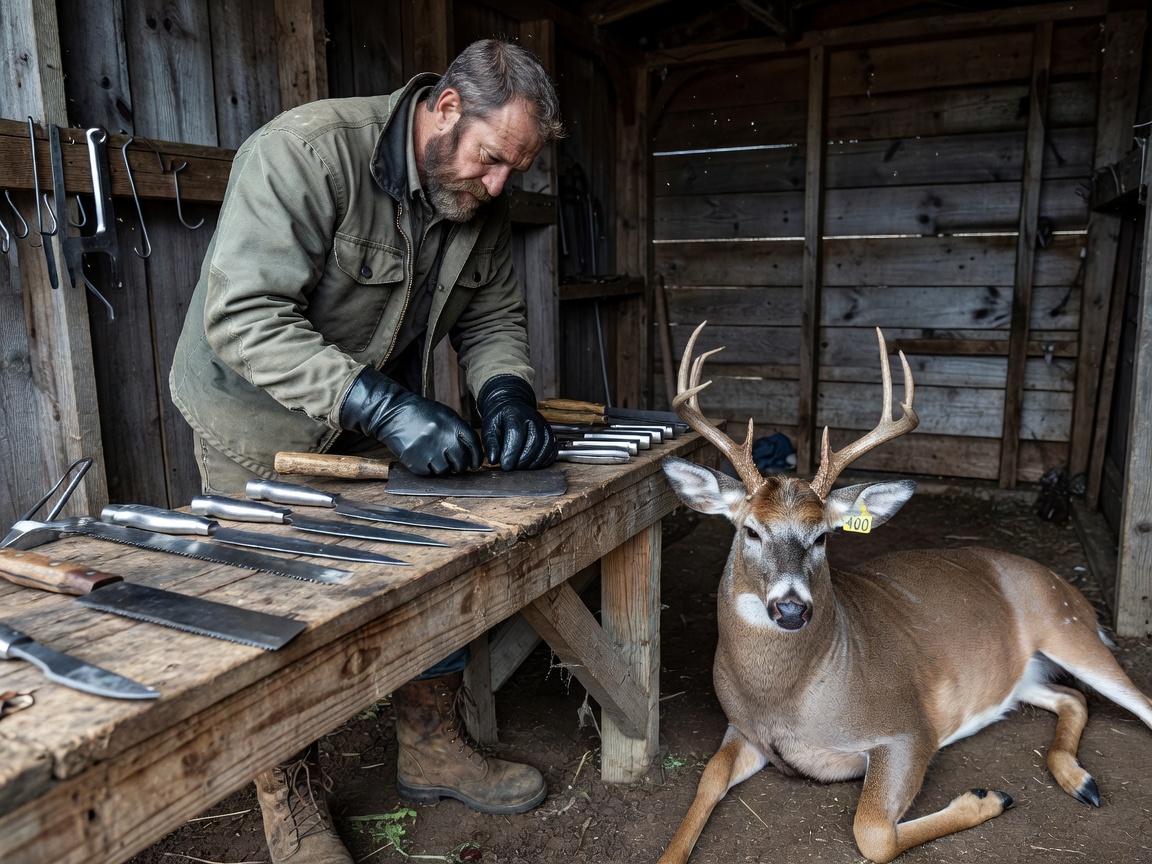
A clean, efficient field dressing process requires minimal, but specific, equipment. You do not need a massive "Rambo" knife; a sharp fixed-blade or folding knife with a 3- to 4-inch blade is vastly superior for intricate work. A knife with a gut-hook can prevent puncturing the stomach. Additionally, carry shoulder-length latex field dressing gloves to protect yourself from bloodborne pathogens and keep your hands clean.
Step 1: Positioning and the Initial Incision
Roll the animal onto its back, propping its shoulders with a rock or log if necessary to keep it stable. Starting at the base of the sternum (breastbone), make a shallow incision through the hide and abdominal muscle, cutting down toward the pelvis. Use two fingers from your non-cutting hand to press the intestines down and away from the blade as you slice upward between them. Puncturing the stomach or intestines will spill foul-tasting fluids onto the meat, severely impacting flavor.
Step 2: Freeing the Windpipe and Pelvis
Reach up into the chest cavity toward the neck and locate the windpipe and esophagus. Cut them as high up in the neck as you can safely reach. Next, move down to the pelvis. Carefully cut around the anus, freeing the lower digestive tract. In many large animals, a pelvic saw or heavy knife is used to split the pelvic bone, allowing you to pull the lower tract completely through without tearing it.
Step 3: Removing the Vitals
With the windpipe severed at the top and the lower tract freed at the bottom, cut the thin membrane (diaphragm) that separates the chest cavity (lungs/heart) from the abdominal cavity (stomach/intestines). Once the diaphragm is cut away from the ribs, you can grasp the severed windpipe and pull downward. If done correctly, the lungs, heart, stomach, and intestines should roll out of the body cavity in one cohesive mass.
Step 4: Draining and Cooling
Roll the animal onto its side or belly, spreading the legs apart to allow any remaining blood in the chest cavity to drain out. If there is snow on the ground, packing the chest cavity with snow can dramatically accelerate the cooling process. If the temperature is warm, prop the chest cavity open with a stick to maximize air circulation.
Safety and Disease Precautions
Always inspect the internal organs as you remove them. A healthy animal's liver should be smooth and dark red; spotting or white lesions can indicate disease. If hunting in an area known for Chronic Wasting Disease (CWD), wear gloves, avoid cutting into the brain or spinal cord, and submit a lymph node sample to local wildlife authorities for testing before consuming the meat.
Field dressing is an acquired skill that becomes faster and less intimidating with experience. Treat the animal with respect, focus on cleanliness, and you will be rewarded with some of the highest-quality, organic protein available.